Master Cream Cheese Frosting: Key Tips for Stable, Pipeable & Storable Batches
Few culinary creations hold the same universal appeal as a perfectly crafted batch of
cream cheese frosting. It’s that beloved sweet-tangy complement that transforms everything from humble red velvet cakes and carrot cupcakes to decadent cinnamon rolls and simple brownies into something extraordinary. Its rich, velvety texture and distinct flavor profile are truly unparalleled. Yet, many home bakers encounter challenges: a frosting that's too runny to pipe, prone to lumps, or simply doesn't hold up as well as desired.
If you’ve ever found yourself wrestling with a thin, uncooperative batch, struggling to achieve those elegant swirls, or wondering how long your beautiful creation will last, you’re in the right place. Mastering
cream cheese frosting isn't about luck; it's about understanding a few fundamental principles. This comprehensive guide will equip you with the knowledge to consistently create stable, pipeable, and perfectly storable batches that taste like they came straight from a gourmet bakery.
The Allure of Cream Cheese Frosting: Beyond Basic Buttercream
While buttercream holds its revered place in the baking world,
cream cheese frosting offers a unique dimension that sets it apart. At its core, traditional buttercream is a simple emulsion of butter, powdered sugar, a touch of liquid (milk or cream), and vanilla, whipped until light and airy. It’s wonderfully versatile but can sometimes be overwhelmingly sweet.
Cream cheese frosting, however, introduces the star ingredient itself: cream cheese. This addition fundamentally changes the game. It imparts a rich, complex flavor with a signature tangy note that expertly cuts through the sweetness of the powdered sugar. The result is a more balanced, sophisticated taste that enhances rather than overpowers your dessert.
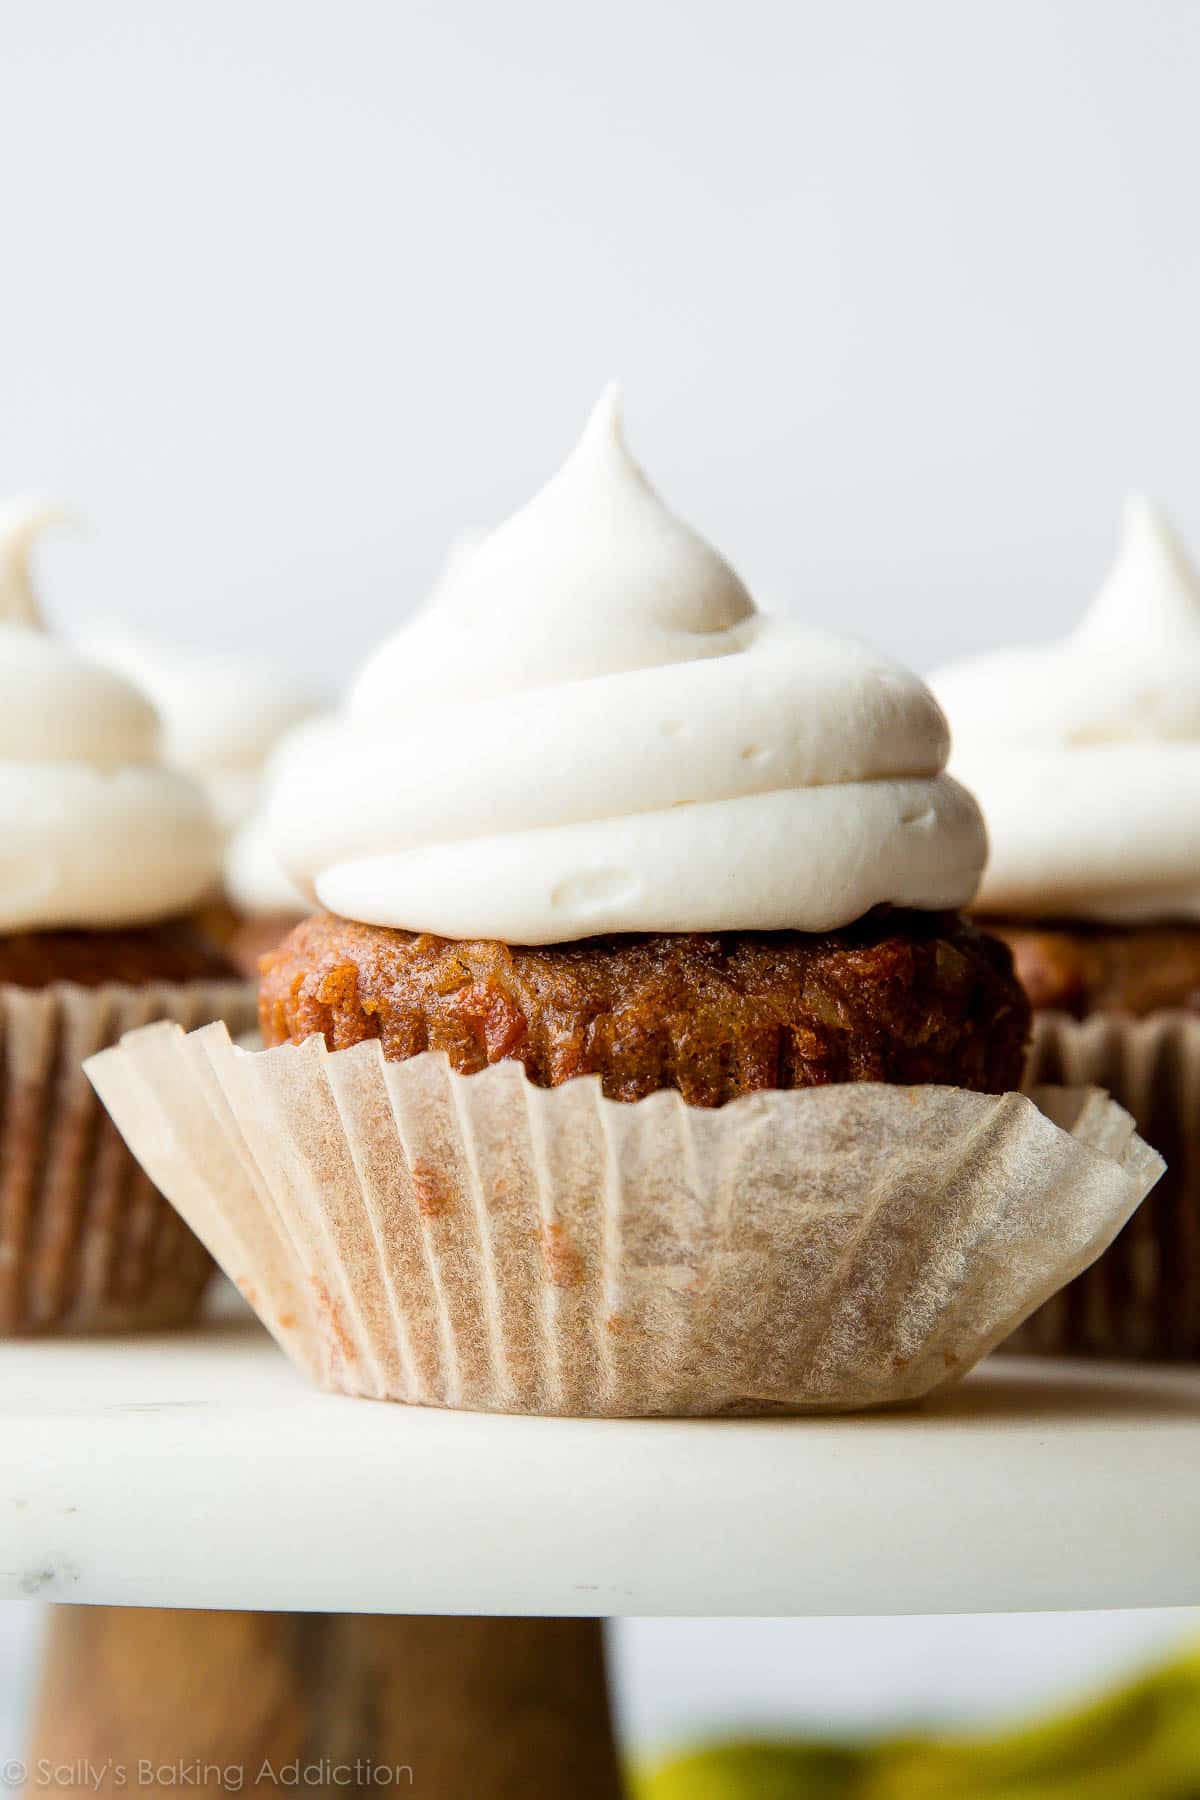
Beyond flavor, the texture is distinct. While buttercream can be very fluffy, cream cheese frosting tends to be denser and incredibly smooth, with a luxurious mouthfeel. This inherent richness and slight density are precisely what make it so satisfying to pipe and spread. It clings beautifully to cakes and cupcakes, providing a substantial, creamy layer that elevates every bite. This unique combination of tang, richness, and smooth density makes it the ideal companion for a wide array of baked goods, promising a memorable experience every time.
The Foundation of Flawless Frosting: Unveiling the "Secrets"
Achieving a consistently thick, smooth, and stable
cream cheese frosting isn't a mysterious art; it's a science. By understanding how your ingredients interact and implementing the correct techniques, you can eliminate guesswork and produce bakery-quality results every single time. Here are the three indispensable secrets to mastering your cream cheese frosting.
Secret #1: The Cream Cheese Commandment – Full-Fat, Firm & Fabulous
This is perhaps the most critical rule for achieving a stable frosting. Always, without exception, opt for
full-fat, brick-style cream cheese. This isn't merely a preference; it's a structural necessity.
*
Why it matters: Tub or whipped cream cheese varieties contain a significantly higher water content and often stabilizers that interfere with the frosting's structure. This excess moisture is the primary culprit behind runny, unstable frosting. Brick-style cream cheese, on the other hand, boasts a lower moisture content and a denser fat base. When beaten with butter and powdered sugar, this denser fat forms a strong, stable emulsion, creating the desired thickness and pipeability.
*
Brand Recommendation: While various brands exist, *Philadelphia cream cheese* is widely regarded as the gold standard. Its consistent quality and ideal texture deliver that perfect balance of richness and tang.
*
Preparation Tip: Your cream cheese should be *cool but softened*. It shouldn't be fridge-cold and rock-hard, but it also shouldn't be warm and mushy. The ideal consistency allows it to blend smoothly without resistance, yet still retains enough firmness to contribute to the frosting's structure. Take it out of the fridge just long enough to lose its chill and become pliable, usually 30-60 minutes depending on your room temperature.
Secret #2: The Temperature Truce – Harmony for Heavenly Texture
Ingredient temperature is often the silent saboteur of many frosting attempts. Both your butter and cream cheese must be at the *correct cool room temperature* for optimal emulsion and texture. This delicate balance ensures a smooth, non-greasy, and stable final product.
*
Why it matters:
*
Too Cold: If butter and cream cheese are too cold, they won't emulsify properly. You’ll end up with lumps of unblended dairy in your frosting, and the texture will be uneven and potentially greasy as the fats separate.
*
Too Warm: If either ingredient is too warm, especially the butter, the mixture will become overly soft, greasy, and thin. The fat crystals in butter, when too warm, break down, making it impossible to whip air into the mixture effectively, leading to a runny mess that won't hold its shape for piping.
*
The Sweet Spot: Aim for your butter to be around 67°F (approximately 19-20°C). It should feel soft to the touch when gently pressed but still hold its shape and not appear oily. The cream cheese should also be softened enough to blend easily, without being squishy.
*
Achieving the Right Temp: Plan ahead! Remove butter and cream cheese from the refrigerator an hour or two before baking, depending on your ambient room temperature. If you're short on time, you can cut butter into smaller cubes to speed up softening, but avoid microwaving, which can melt it unevenly. For cream cheese, gentle pressure will tell you if it's ready.
Secret #3: The Method That Matters – Whipping Wisdom for Stability
Even with the right ingredients at the perfect temperature, an incorrect mixing method can undermine your efforts. The order and duration of whipping are crucial for creating a thick, stable, and pipeable
cream cheese frosting.
*
The Strategic Beat: Start by beating the softened butter alone in your stand mixer (or with a hand mixer) on medium speed until it's light and fluffy, usually for 2-3 minutes. This incorporates air and makes it creamy.
*
Introduce the Cream Cheese: Add the *cool but softened* brick-style cream cheese to the butter. Beat on medium-low speed until *just combined and smooth*, about 1-2 minutes. The key here is to avoid overmixing. Overbeating the cream cheese can introduce too much air, which destabilizes its structure and can actually make the frosting thin out.
*
The Powdered Sugar Protocol: Gradually add your sifted powdered sugar, one cup at a time, beating on low speed until fully incorporated after each addition. Sifting is non-negotiable; it prevents lumps and ensures a silky-smooth finish. Once all the sugar is in, add vanilla extract and any other flavorings.
*
Final Whip (with Caution): Increase the speed to medium-high and beat for just 1-2 minutes until the frosting is light, fluffy, and holds its shape. *Resist the urge to overbeat at this stage*, as continued whipping can cause the cream cheese to break down, leading to a runny consistency. A perfect frosting will be thick enough to cling to the beaters and hold stiff peaks.
Achieving Bakery-Level Pipeability and Smoothness
With the "secrets" firmly in hand, you're well on your way to a perfectly pipeable and smooth
cream cheese frosting. The combination of full-fat cream cheese, proper ingredient temperature, and judicious mixing results in a dense, rich consistency that holds its form beautifully when piped.
*
Troubleshooting a Too-Thin Frosting: If, despite your best efforts, your frosting feels a little too soft or runny for piping, don't despair. The easiest fix is to add a bit more sifted powdered sugar, a tablespoon at a time, mixing until it reaches your desired consistency. Another effective trick is to chill the frosting in the refrigerator for 15-30 minutes. The slight cooling will firm up the fats, making it more stable. After chilling, give it a quick re-whip on low speed to restore its smooth texture.
*
Addressing a Too-Thick Frosting: Conversely, if your frosting is too stiff, add a very small amount (half a teaspoon at a time) of cold milk or cream, beating until it reaches the perfect consistency. Be cautious; a little goes a long way.
*
For a Silky Finish: Before piping, give your frosting a final gentle stir with a spatula to eliminate any air pockets and ensure an ultra-smooth texture. Scrape down the sides of the bowl thoroughly to incorporate all ingredients evenly. This attention to detail will translate into pristine swirls and professional-looking decorations.
Storage Solutions: Keeping Your Cream Cheese Frosting Fresh & Safe
One of the great advantages of mastering
cream cheese frosting is its excellent storability, allowing you to prep ahead or save leftovers. However, due to the perishable nature of cream cheese, proper handling is crucial for food safety.
*
Refrigeration is Imperative: Any dessert frosted with cream cheese frosting should be refrigerated if it won't be consumed within a couple of hours. Cream cheese is a dairy product and spoils if left at room temperature for too long. Always err on the side of caution. Once your cake or cupcakes are frosted, transfer them to the fridge to maintain their freshness and safety.
*
Short-Term Storage (Up to 3 Days): You can make your cream cheese frosting up to 3 days in advance. Store it in an airtight container in the refrigerator. When you're ready to use it, remove it from the fridge and allow it to come to cool room temperature (about 67-70°F) for 30-60 minutes. Then, give it a thorough re-whip on medium speed for 1-2 minutes until it's light, fluffy, and pipeable again. This re-whipping step is essential to restore its smooth consistency and incorporate air that may have settled out during chilling.
*
Long-Term Storage (Up to 1 Month): For even longer storage, cream cheese frosting freezes beautifully. Transfer the freshly made frosting to an airtight, freezer-safe container or a heavy-duty freezer bag, squeezing out any excess air. It can be frozen for up to 1 month. To use, thaw it overnight in the refrigerator. Once thawed, bring it to cool room temperature and re-whip as described for short-term storage to achieve its original texture and consistency.
By understanding and implementing these storage guidelines, you can confidently prepare your frosting in advance, reduce last-minute stress, and ensure your desserts are always safe and delicious.
Elevate Your Baking with Perfect Cream Cheese Frosting
From understanding the critical role of full-fat, brick-style cream cheese and harmonizing ingredient temperatures, to employing precise mixing methods and adhering to smart storage practices, you now have the blueprint for consistently achieving stable, pipeable, and wonderfully flavorful
cream cheese frosting. No more runny messes or lumpy textures; just smooth, tangy perfection that holds its shape and delights the palate. Embrace these secrets, and you'll transform your everyday baking into extraordinary culinary experiences, proving that mastering this beloved frosting is truly within every baker's reach. So go forth, whip up a batch, and let your desserts shine!